Tuesday, September 30, 2014

Descriptive Writing {Part One}

Descriptive writing is writing through observation.

When we observe, we use our five senses. When we write descriptively, we should also use our five senses. 

Our audience should be able to “picture” in their minds what you and your characters feel, smell, hear, see, and taste by the words you use in your writing.

Writing is best learned when we surround ourselves with other author’s stories and books. When we see how others have written, we can get ideas for our own stories. I read books to my students every week focusing on an example of the type of writing I am teaching that particular week.
My curriculum includes a recommended book list of literature that can be used to teach and model each type of writing.

When I teach descriptive writing, I begin by discussing adjectives and the importance of using them in our writing.
I give my children candy such as Smarties or gummy bears, but you could use a banana or a non-edible item such as a ball or toy and as my students are eating the candy, I ask them to use their five senses and tell me words to describe the candy. I discuss with them that I could say, “The candy is good” or I could say, “The tiny, crunchy candy is both sweet and tart”. I encourage them to use their five senses and adjectives to make their writing more descriptive.

I also encourage them to use a thesaurus or the Colorful Words book to use more interesting and exciting words in their writing.
You can purchase the Colorful Words book here. It can be purchased separately or is a part of the Let's Write curriculum.

 
This book includes 18 “boring” or overused words and colorful words {synonyms} that can be used in their place to make our writing more exciting and interesting for our audience. This is a great resource for your writing center or writing binders.  

Descriptive writing is just that – descriptive and full of detail. Every character, animal, item, sound, and thought is described in our writing. It is our job as authors to paint a picture in the minds of our readers.

I shared The Important Book by Margaret Wise Brown with my students. I encouraged my students to add sensory details to their writing.

My curriculum, Let’s Write: A Writing Curriculum for Young Writers, has several descriptive writing choices listed, but we will focus on writing about a special person for the next two weeks.

I introduced the topic for their writing this week and read My Rotten Redheaded Older Brother by Patricia Polacco to my students before they began pre-writing. We discussed ways that Patricia Polacco described her brother in the book and how we as authors should do the same.  

I had my students use the pre-writing/brainstorming graphic organizers, found here in my curriculum, to develop their ideas about a special person. Once they had their ideas developed, I encouraged them to use the descriptive writing template, found in the Let's Write curriculum, to write their rough draft, making sure that they add details, adjectives, sensory details, exciting and colorful words, and description in every sentence.

Let’s Write!


Tuesday, September 23, 2014

It's a Process - Part Two {the Writing Process}

Writing must go through the writing process to be its best!

The stages of the writing process are...

Pre-Write, Rough Draft, Revise, Edit, and Publish

Now that you have brainstormed about your topic and gotten your ideas together into a rough draft, it's time to make your writing the best it can be!

Revising:

As your child revises, they should do three things...

1. ADD - Re-read their writing and add words, phrases, and sentences where details are lacking in their story.

2. MOVE - Move ideas and sentences around within their writing to help with the flow and fluency of their writing.

3. DELETE - Take words, phrases, sentences, and ideas out of their writing that just doesn't work. It may be something that is off topic, a repetitive thought, or an idea that isn't needed.

Revision is making the rough draft better!

When your children revise, have them use a green pen to help them see the revision changes when they publish the final copy.

I also teach my children to add COLORFUL words to their writing instead of all using the same "boring" words. A "Boring Words" list and a "Colorful Words Dictionary" can be found here. Instead of always using the word said, why not use words like declared, shouted, replied, or exclaimed? Doesn't that sound so much more exciting than said?


Print a Colorful Words dictionary and place it is your child's writing binder. Encourage them to use it while revising.

Editing

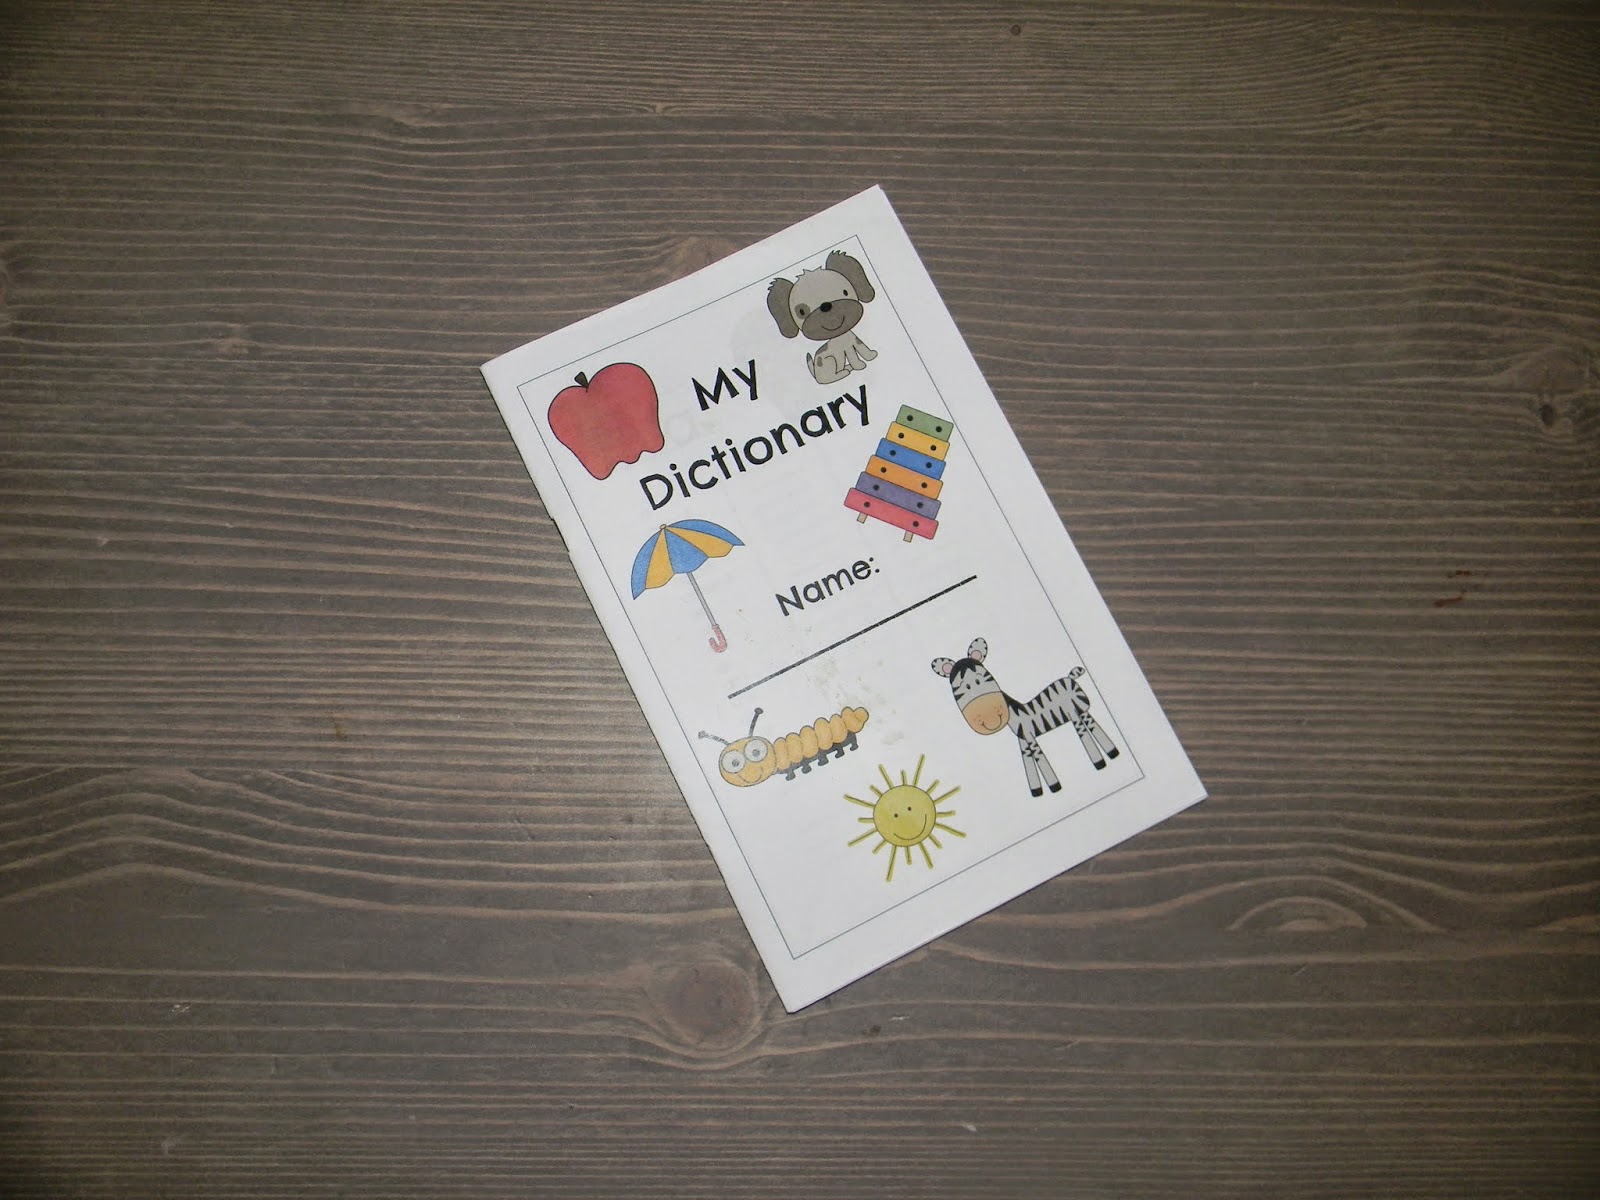
Editing is the stage in the writing process where the finishing touches are put on our writing. We are cleaning up our writing and getting rid of all errors and mistakes. They are checking for capitalization and punctuation errors as well as spelling errors. In addition to the children's dictionary that is in our writing center, my children have a personal dictionary that is in their writing binders. You can purchase a personal dictionary here. This personal dictionary has all 220 Dolch sight words included plus additional space to write words for future reference. I suggest placing this in their resources folder in their writing binder.


I like to have my children use a red pen for these corrections, again, to help them notice the changes when publishing.

Use an editor's checklist, like this free one. I laminated my children's so tat they are able to use it again and again as they write. They use a dry erase marker to check off each skill while editing their writing.

Once all changes have been made and errors have been corrected, it is time to publish!

Publishing: Final Copy

There are numerous ways for children to publish their writing. They can re-write it in their neatest handwriting, type if on the computer, make a book, add illustration or pictures from the internet, and the list goes on and on. You can use notebook paper, white paper, construction paper, specialty papers, etc.

I always encourage my children, that no matter how they choose to publish their writing, to always add illustrations or pictures and to always add their name and the date!

Now...

Let's Write!

Wednesday, September 17, 2014

It's a Process - Part One {the Writing Process}


Writing is a process and to make a piece of writing the very best it can be, it should be taken through the steps or stages of the writing process.

The stages of the writing process are… Pre-Writing, Drafting, Revising, Editing, and Publishing.


I printed and laminated writing process cards to keep in our writing center. You can find them here. You can purchase them separately or they are a part of my curriculum download as well.  My children can use these as a reminder of what to do in each stage of the writing process. On the back of each stage card, I have written a reminder of what they need to be doing in each stage. I just copied the "What does it look like?" on the back of the writing binder dividers also found in my curriculum download.


All writing must begin in the pre-writing stage. Our brain has to "warm-up" and start generating ideas about a topic. A topic can be chosen from past experiences or memories., topics I know a lot about {baseball, horses, cooking}, topics I would like to know more about {the Civil War, bats, weather}, people I know, places I have visited or want to visit, and on and on. Topics and ideas are endless. I only suggest that the topic chosen is something that interests the child. It is much more fun to write about a topic that interests you than to not.

Pre-Writing: Brainstorming

Generating a topic list is important. This list should be an ongoing list where topics and ideas are added as they come to mind. This list should help a child who is reluctant to write or at a loss for ideas, decide on something to write about. I suggest using ABC boxes to help generate ideas {choose a topic for each letter of the alphabet - for example: a - Aunt Susie, b - balloon ride, c- cats, d - Disney World} or creating word lists for broader topics.


Once your child has a topic list, they will have a much easier time choosing an idea to write about.

After choosing an idea, I have my children choose one way to pre-write. The dividers found in my curriculum include these pre-writing methods on the back to use as a reference and a reminder.


I always model each method at the beginning of the year.

The methods I encourage are...

timeline - write simple phrases or draw pictures of the events from your story in ORDER on a timeline

draw a picture - drawing can be an effective pre-writing method as long as details and labels are used in the picture to help remember everything they want to include in their rough draft


word web - write the topic in the center of the paper and jot down ideas or pictures about that topic that you want to include in your rough draft

I encourage my children to use different methods for different types of writing. A timeline might lend itself more towards a story about a memory or experience whereas a word web would be more appropriate for a research report about tornados.

Drafting: Rough Draft

When the pre-writing and brainstorming is complete, it is time to "move" your writing to the next stage - drafting. In this stage, your child will begin to gather all the information and details from the pre-writing stage and put it together into a draft using sentences, punctuation, and capitals. This is only a draft, not the finished product, so it will have mistakes and things that need to be changed. these changes will occur during the next stages - Revising and Editing.


If you have put together a writing binder, as I suggested in this post, then your child will write their rough draft in the spiral notebook found at the front of their binder. Remind them to always include the date at the top of each rough draft!

For my primary child, I use a primary writing journal with a space for a picture at the top and primary writing lines at the bottom.

Let's Write!

Tuesday, September 9, 2014

A Place To Write


Organized….We all work better when we know where things are and can find them when we need them.
The same is true with children. And definitely when they are learning.
Whether you have a room or corner in your home designated for “school” or you learn at your dining room table or couch, your children should know where their learning and creating materials are located.  
My children need organization.  I need organization. That is why I want them to have everything they need to learn available to them at any time they choose to use them.  The same is true with writing. Writing doesn’t just happen in the 30 minutes a day we, as their teachers, designate as “Writing” time. Writing happens at night when they want to write a letter to their grandma telling her about their day. Writing happens when you ask your children to help you write a list for the store. Writing happens when something amazing happened on a trip or just in an ordinary day, and they want to tell it! Writing can happen at any time and we, as their teacher, should encourage them to write, to tell their thoughts and memories, to share their stories!
Our first year of homeschooling, we had a “classroom” - a room where we went each morning to learn and create and play.


For the past two years, our “classroom” has been our dining room table. Yes, we eat all of our meals there, but we also learn there every day! It isn’t ideal, but it’s working!


We have a designated Writing Center in our “classroom” where all of the materials my children may need to write are located. 


This could be as simple as placing pencils, crayons, notebook paper, and a dictionary in a caddy somewhere in your home. Your writing center can be as simple or complex as you would like. Do what works for your family and your homeschool. Some items included in our writing center are pencils, crayons, colored pencils, paper, specialty papers, notecards and envelopes, stickers, children's dictionary and thesaurus, glue, tape, hole punch, stamps and ink pads, word cards, and a writer's idea box.


A writing binder is also a daily part of our homeschool writing time. A writing binder is a place where my children keep their writing and writing resources in an organized manner. The writing binders that my children use are divided up into the stages of the writing process. Each stage of the writing process {Pre-Writing, Drafting, Revising, Editing, and Publishing} has a divider that also serves as a reminder of what they are to do during that stage. These are available in my Let's Write curriculum here. Behind each divider is a colored folder where they will keep their writing as it "moves" through the writing process. I will be posting more about the writing process next week. There is also a folder at the back of their binder for resources such as a rhyming dictionary, address book for writing letters, and a personal dictionary. We will add more to this folder as the year goes along. These resources are also available in my curriculum.


Materials Needed for Writing Binder:

2 inch or wider binder
5 colored folders {make sure they have holes or you can punch holes so they can be kept in the binder}
writing process dividers {found here}
one-subject spiral-bound notebook {for rough drafts}
pencil pouch {for red, blue, and 4-color click pens, mini-clothespins {for pencil clip chart}, and pencils

How to Set Up a Writing Binder:

We use a spiral bound notebook in the front of the binder for rough drafts. In the pencil pouch, I included a red pen {for editing}, a blue pen {for publishing}, a 4-color click pen {green for revising}, and mini-clothespins {for pencil clip chart}.


The pencil clip chart helps remind my children of the stages of the writing process and the order in which they come. It also will be used to help keep track of where their writing is in the writing process. They will clip a mini-clothespin beside the stage and move it up as their writing "moves" along the writing process.


Each stage of the writing process has a divider in their writing binders. On the back of each divider, I have included "What It Should Look Like" as a reference for the children to use as they write. These dividers are included in my Let's Write curriculum.


A colored folder is included at the back for additional resources.


All of the resources for this writing binder as well as many more are included in Let's Write: A Year-Long Writing Curriculum for Young Authors which can be purchased here.

I encourage you to plan a space for your children today! Create a learning environment that can only set them up for success.

Let's Write!